Configuring OpenPlotter
You can configure OpenPlotter to get AIS and GNSS data from a MAIANA transponder with just a few clicks. You will also learn how to enable transmission, configure the device, and update the firmware.
Getting AIS and GNSS data
MAIANA is ready to rceive and send AIS and GNSS data out of the box, just power on the device and connect by USB or UART to OpenPlotter. We want to send MAIANA data to the Signal K server so that any program like OpenCPN can access AIS and GNSS data. We will do it easily using the OpenPlotter Serial app.
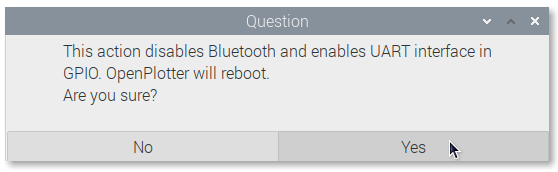
If you are connected by UART, first of all you need to enable the UART interface of your Raspberry Pi. Click UART and then click Yes. Remember that enabling the UART interface will disable Bluetooth. If you are connected by USB, skip this step.
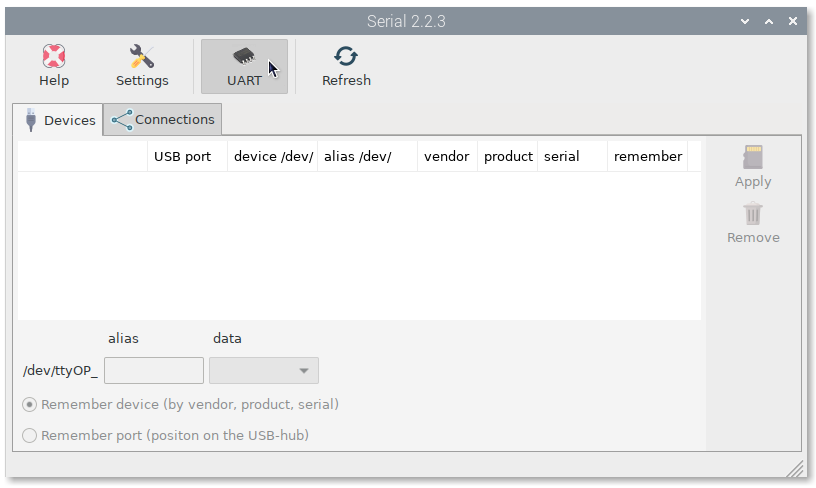
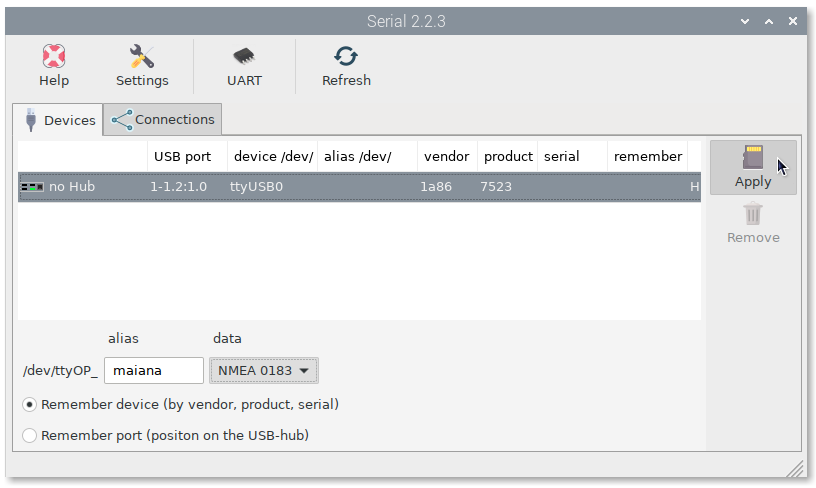
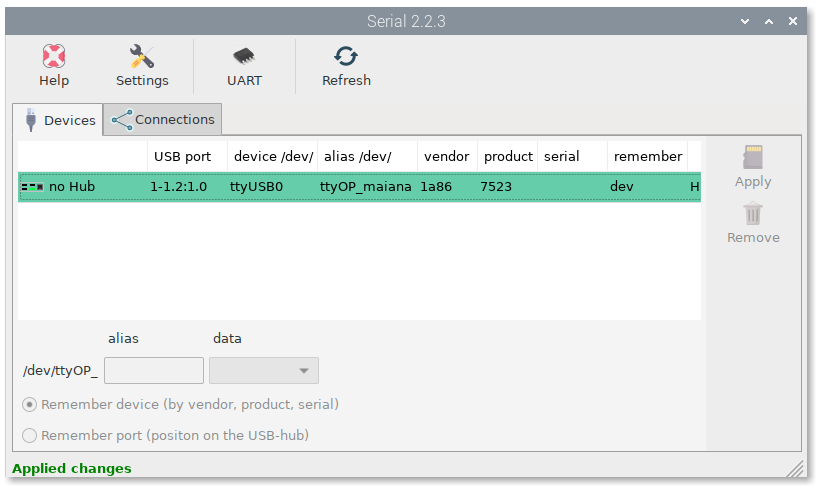
After enabling UART or just plugging in the USB and clicking Refresh, you will see a new device listed. Select this new device and provide a short name for the alias and select NMEA 0183 under data. If it is connected by USB check Remember device and if it is connected by UART check Remember port. Click Apply when done.
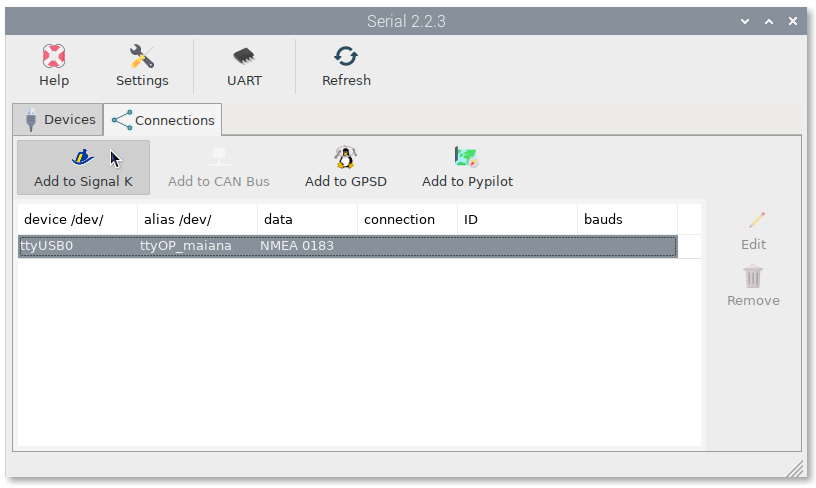
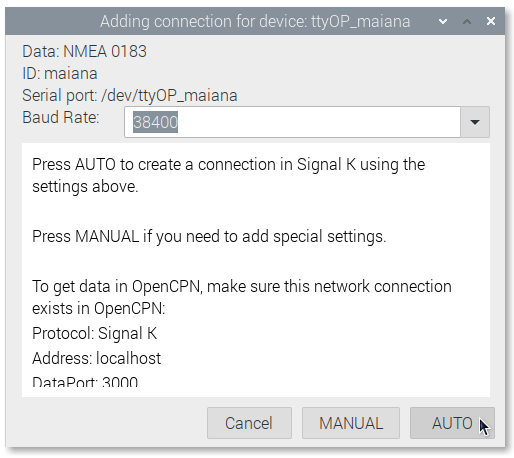
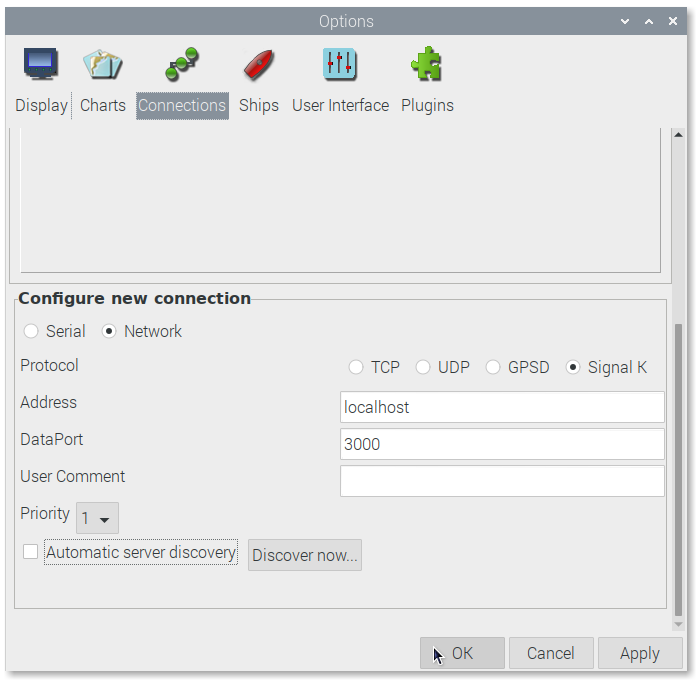
Go to the Connections tab and select the new device you just created. Click Add to Signal K and then click AUTO. A connection will be created on the Signal K server for your device.
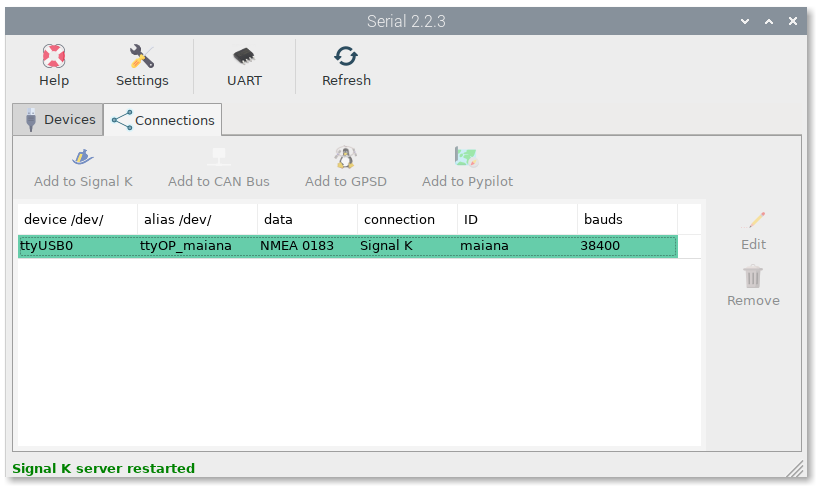
Make sure there is an OpenCPN enabled connection to the Signal K server and your are done.
Connecting to MAIANA
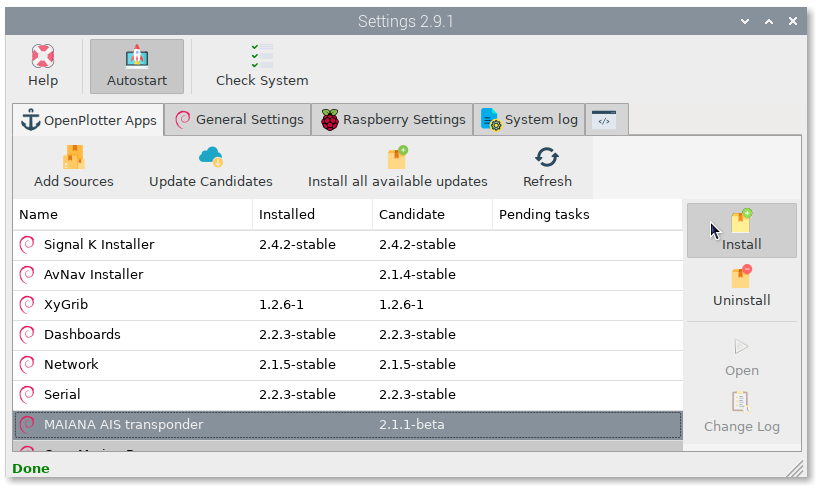
Using the OpenPlotter MAIANA AIS transponder app you can manage all the settings of your device. Open OpenPlotter Settings app, select this app and click Install.
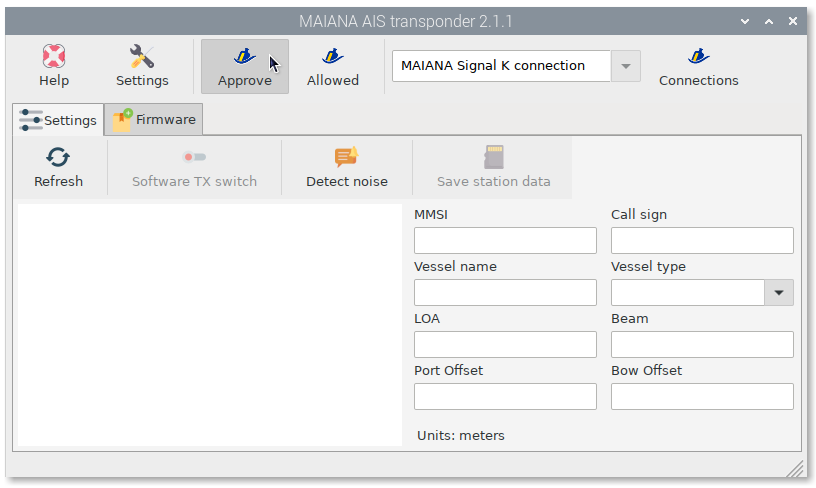
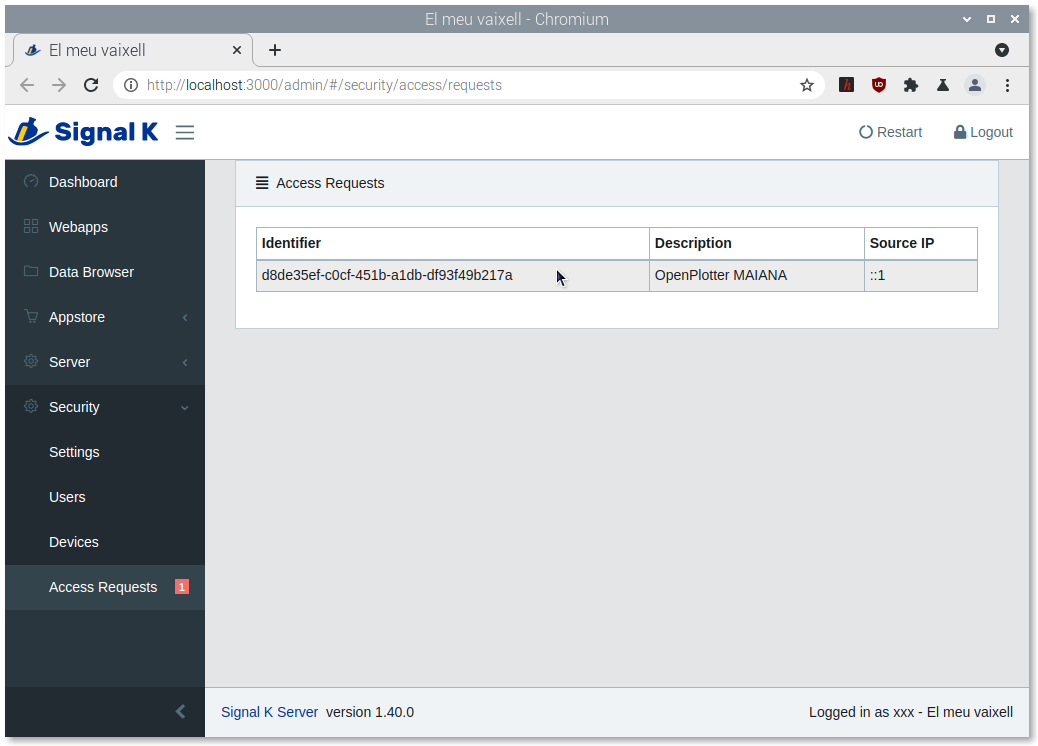
Once the OpenPlotter MAIANA AIS transponder app is installed, we have to create a connection between this app and the Signal K server. Open the app and a connection request will automatically be sent to the Signal K server. Click Approve to access the administrator of the Signal K server:
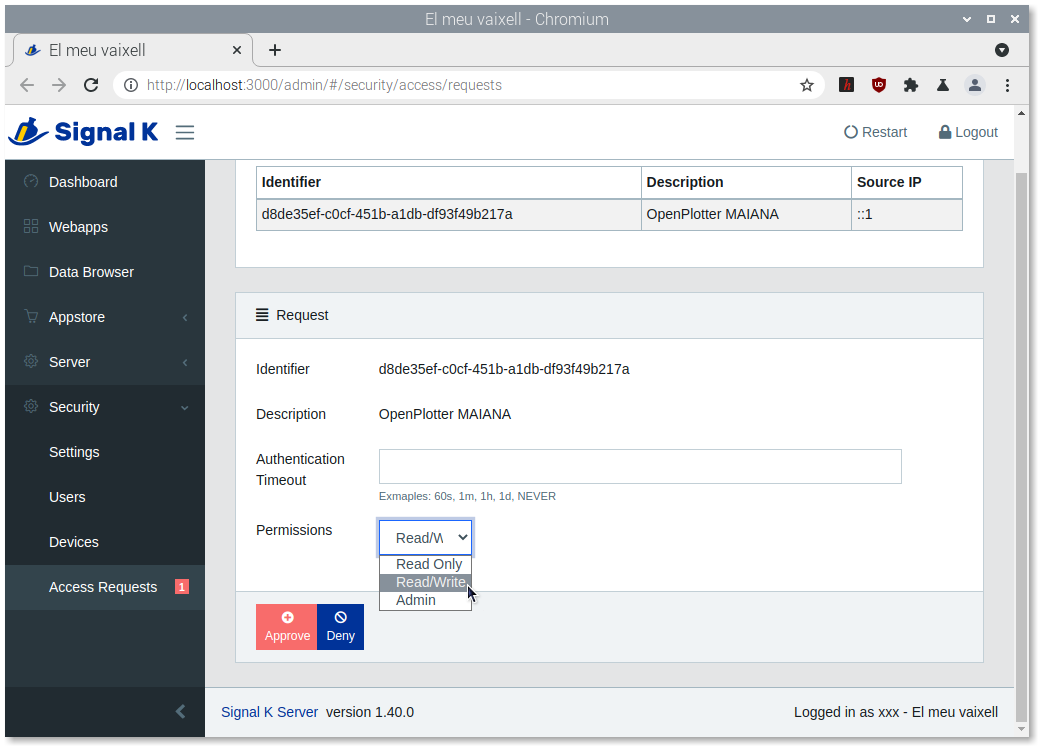
Select the new request and then select Read/Write in Permissions and click Approve:
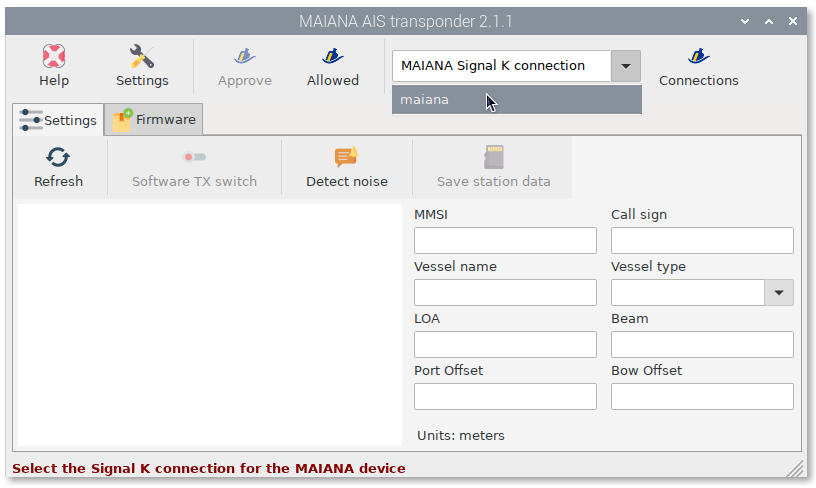
Go back to the OpenPlotter MAIANA AIS transponder app and click Refresh:

Now we have to select the connection we previously configured with the OpenPlotter Serial app by clicking on the MAIANA Signal K connection field:
And that’s it. All connections have been made and you will be able to communicate with MAIANA every time you open the OpenPlotter MAIANA AIS transponder app and the device is turned on. If you can not get a connection the first time, try again by clicking Refresh.

Enabling transmission
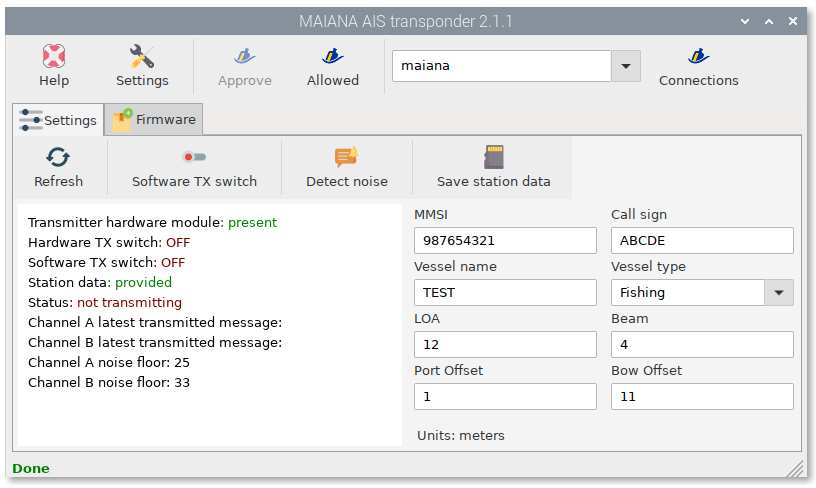
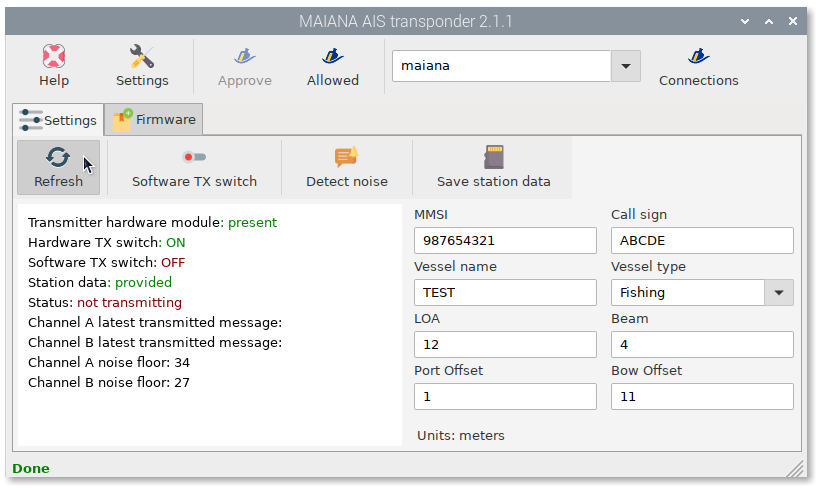
If we want to enable transmission, we must provide the station data. Complete the form using this syntax for each field:
- MMSI (you should have one for your boat already)
- Boat name (up to 20 alphanumeric characters, no punctuation. Use all caps)
- Call sign (may be empty if you don’t have one)
- Type (this is the numeric type of the vessel, see below)
- Length in meters (integer only)
- Beam (width) in meters (integer only)
- Port offset (meters from the port side where the unit is located)
- Bow offset (meters from the bow where the unit is located)
For vessel type, here are some numeric values that apply to class B transponders:
- 30 - Fishing
- 34 - Diving
- 36 - Sailing
- 37 - Pleasure craft
Click Save station data when you are done:

You will see that the value of Station data has changed to provided in green:
There are 2 switches to turn on/off transmission:
| Hardware: | There is a physical switch on all adapters. The breakout board also has a pin for this. This switch has priority over the Software switch. |
|---|---|
| Software: | You will find a button Software TX switch in OpenPlotter MAIANA AIS transponder app. |
This is the relation between the two states of these switches:
| Hardware | Software | TX |
|---|---|---|
| ON | ON | ON |
| ON | OFF | OFF |
| OFF | X | OFF |
Turn on your Hardware switch and you will see that the value of Hardware TX switch has changed to ON in green:
Now click Software TX switch and you will see that the value of Software TX switch has changed to ON in green and the value of Status has changed to transmitting in green:
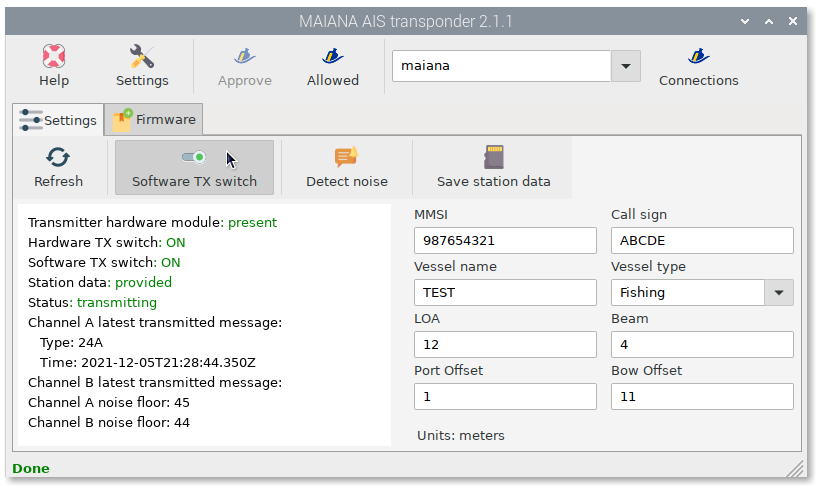
Congratulations, you are already transmitting!
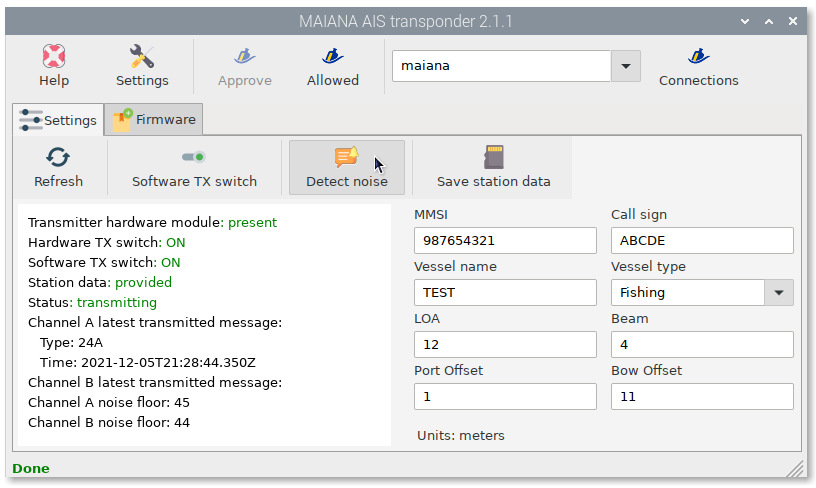
Detecting EMI
MAIANA constantly checks for noise floor on both channels to detect any electromagnetic interference (EMI) near your device. If you enable Detect noise and the noise level is higher than 64, an alert notification will be sent to the Signal K server.
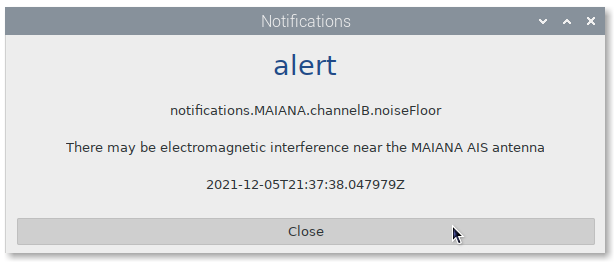
If you have the OpenPlotter Notifications app installed, you will see an alert window like this one:
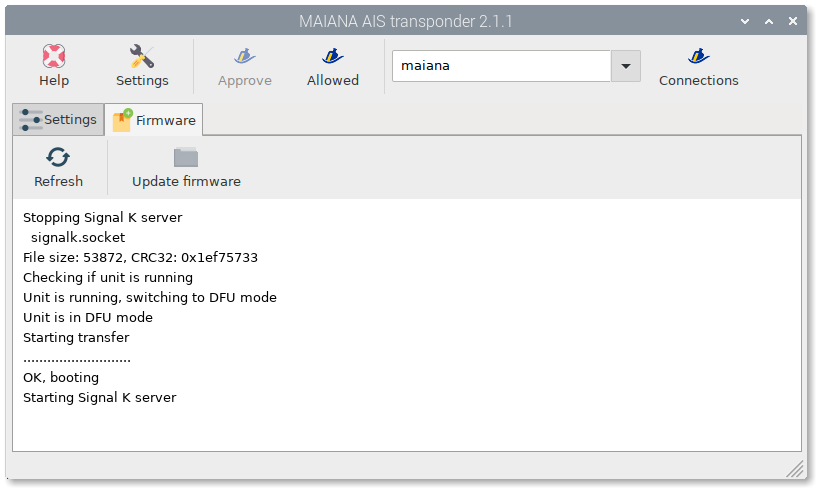
Updating firmware
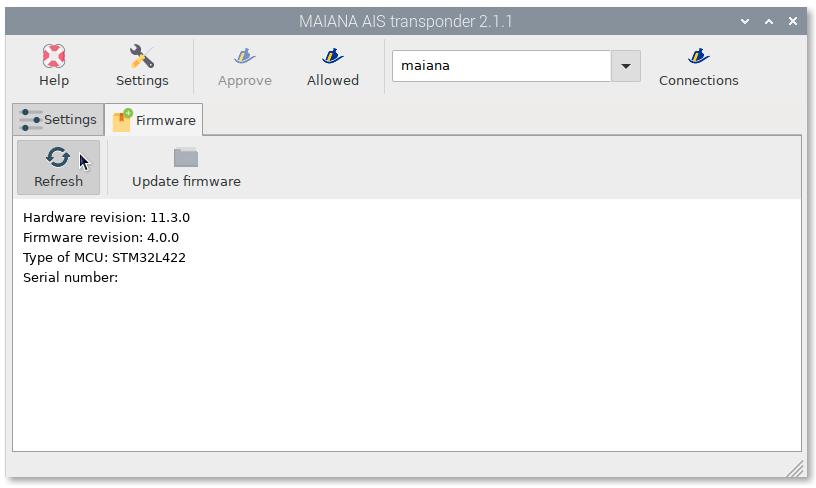
You will receive your MAIANA base kit with the latest stable firmware installed. Go to the Firmware tab and click Refresh to see the version of your device:
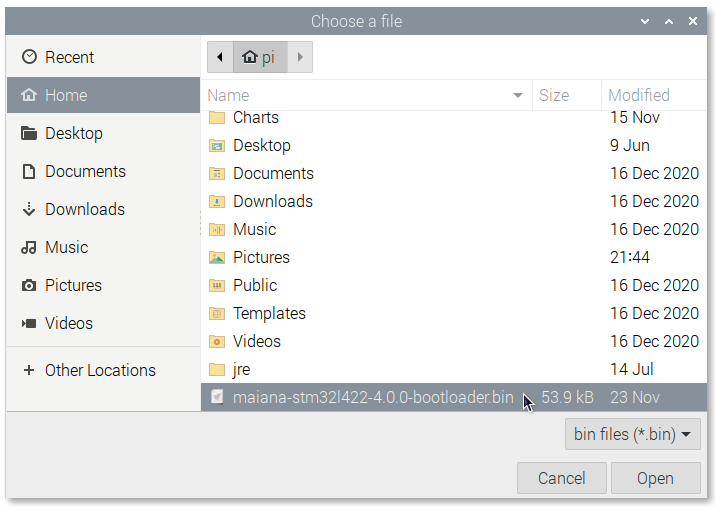
If a new version of the firmware is released by MAIANA developers, download the bin file and click Update firmware. Select the file, click Open and finally Yes:
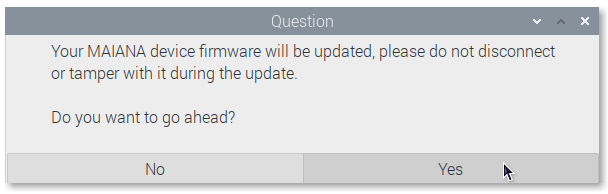
The system will stop the Signal K server to make sure it can take control of the device and load the new firmware. When done, both the Signal K server and the device will reboot: