External Apps
OpenPlotter contains a lot of useful apps but you can create your own apps too. External apps can share OpenPlotter resources but are autonomous and independent.
We have created an example of an external app called My App that can be used as a template for your app.
Installing My App
Download the latest version of My App and double-click the deb file.
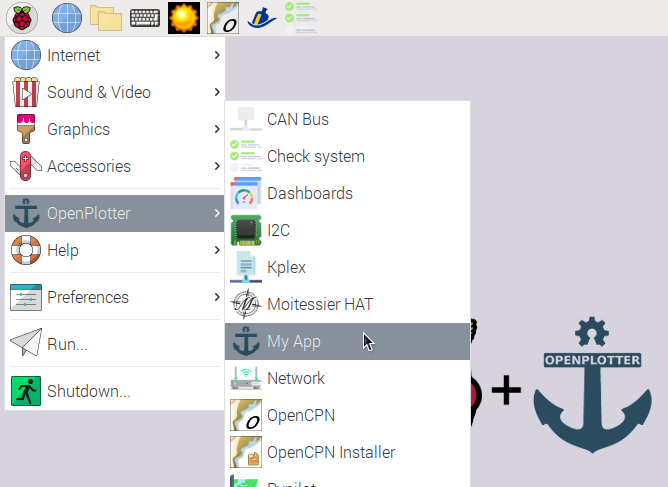
After installing go to and click on My App.
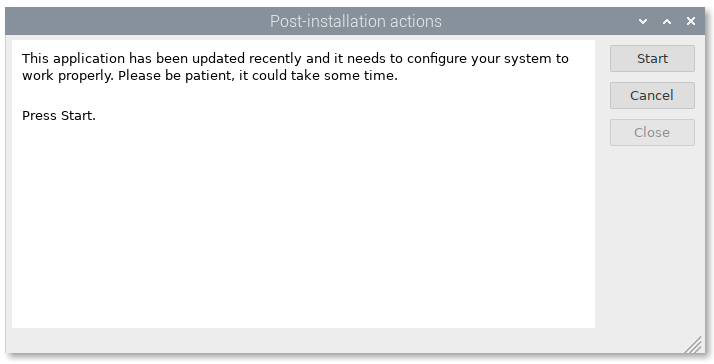
Most apps must perform some tasks for proper operation before being used. Click on Start.
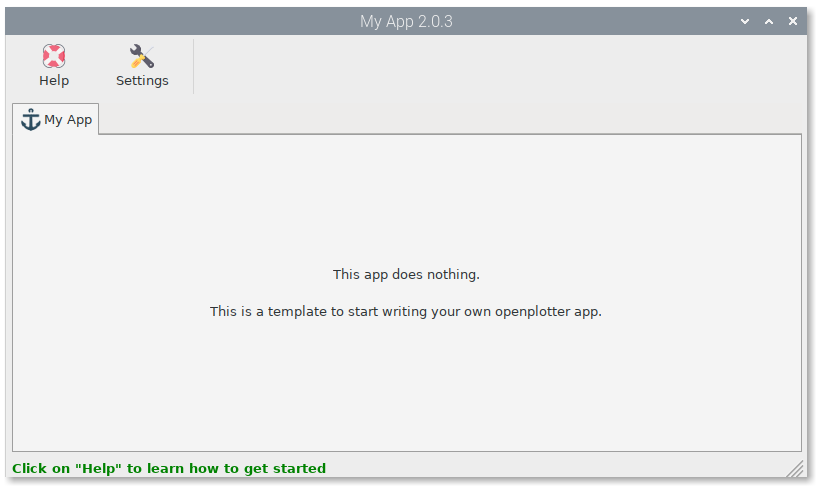
After finishing the post installation tasks, try to open the app again.
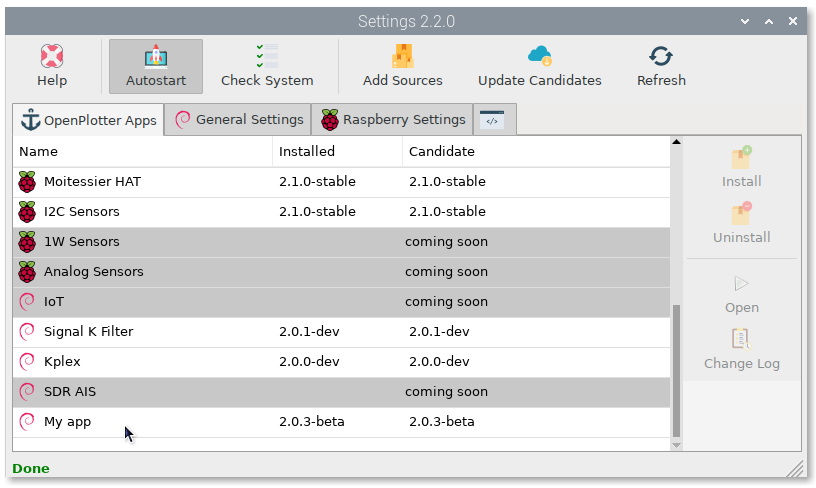
My App is installed correctly and from this moment it will appear in the list of OpenPlotter apps that will be updated when a new version is published.
Creating your app from My App template
OpenPlotter apps should be written in python 3 and must be distributed as Debian packages.
First of all you need a repository to upload and distribute your app. You can use any Debian repository but we recommend https://cloudsmith.io because it is really easy for newbyes.
- Create an account in Cloudsmith.
- Create a repository in Cloudsmith and select “GNU Public General License v3.0” and “Open-Source”. Your repository should look like this: https://cloudsmith.io/~openplotter/repos/openplotter-external/packages/
- To get the source of your new repository replace myname and myrepository by your data and type this in a browser:
https://dl.cloudsmith.io/public/myname/myrepository/cfg/setup/config.deb.txt?distro=debian&codename=buster
- You will get a file that contains your source. Save it, you will need it later.
- Download the GPG key file you will find in the section Signing Keys of your repository. Save it, you will need it later.
Go to the My App GitHub page and click on Use this template. Provide a name for your new app and the project will be forked. It is recommended that you use the prefix openplotter- for your app name.
Browse the code of your fork of My App. There are comments on every piece of code you should change to customize your new app. Use the source and the GPG key files when required.
Packaging your app
After you have customized your app, you have to create a Debian package to test. To build deb packages you need to sign them with your GPG key. Follow this manual to get a GPG key using the same email you have in the file debian/changelog of your customized My App.
Once you have a GPG key installed in your computer you can create deb packages typing this in the root folder of your fork of My App:
dpkg-buildpackage -b
To increase the version of your app you have to edit the file openplotterMyapp/version.py and the file debian/changelog.
Attention
Versions in openplotterMyapp/version.py and debian/changelog must always match.
Tip
To help you edit the changelog file, type this in the root folder of your fork of My App:
dch
Uploading your app to your repository
Go to your Cloudsmith repository and select Upload for Debian. Then click on Upload Debian Package. In the next window click on Upload File to select the deb file from your computer and select the Distribution. OpenPlotter 2 works for debian/buster - Debian - 10 (Buster).
Distributing your app
You are done. Send the URL of your repository to your users to download and install your deb file. Write a short manual to install your app just like the first section of this page.
Once installed your package can be updated from openplotter-settings app or typing:
sudo apt update
sudo apt install openplotter-myapp